Insert Toolbar help
Use Insert to sign, rubber stamp, insert an image, insert an attachment, or add a callout.
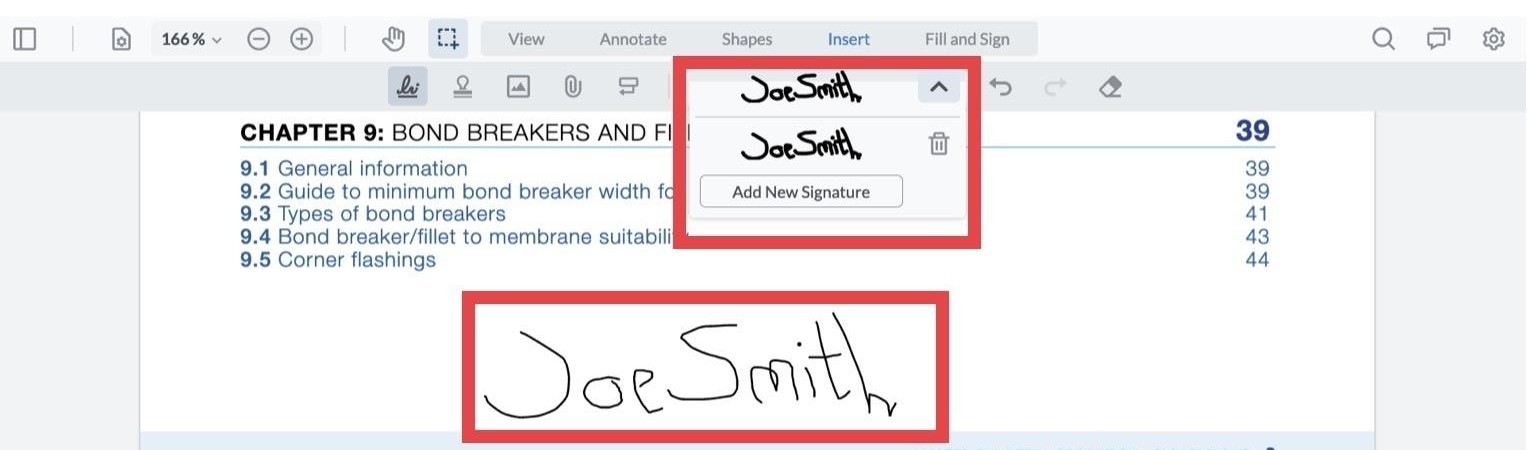
1. To sign a document, select the Signature tool and click Add New Signature.
Image

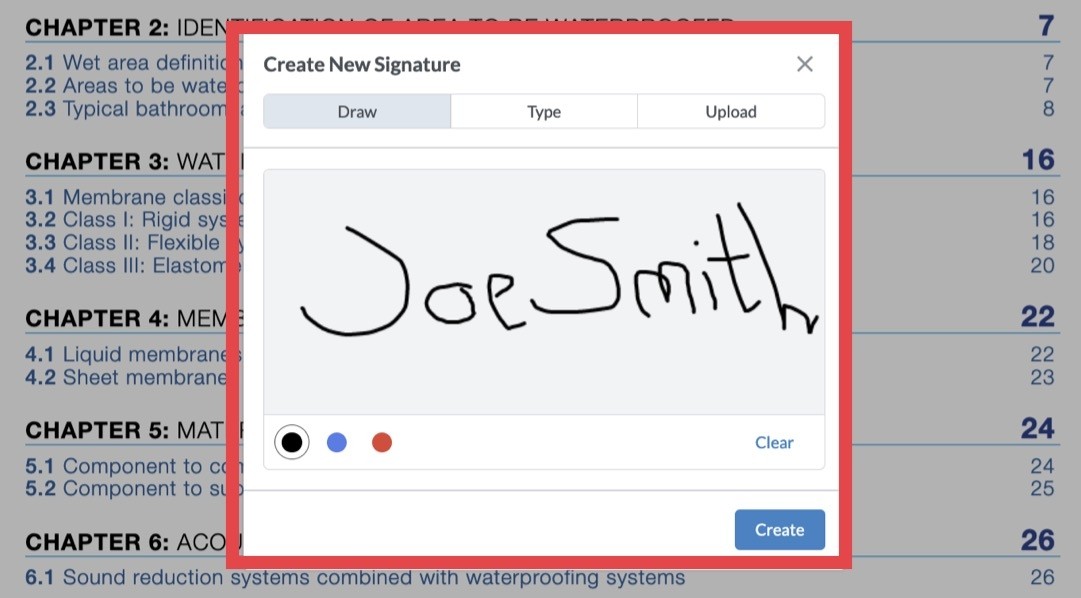
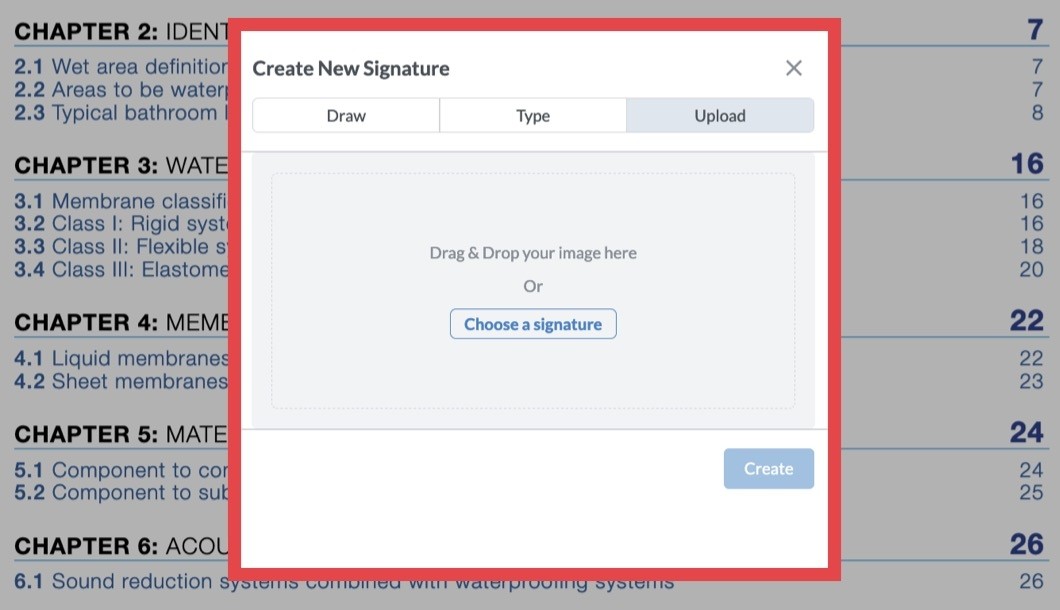
2. In the popup window you can choose to draw a signature, type a signature, or upload an image. Once you’ve set your signature, click Create, and the signature can be inserted in the document.
Image
Image
Image
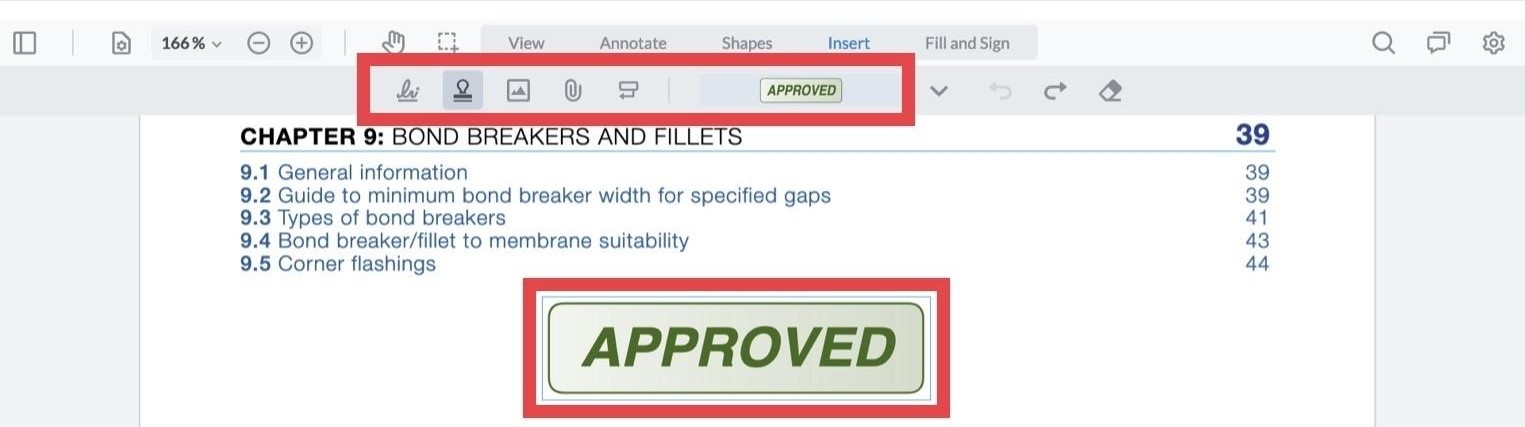
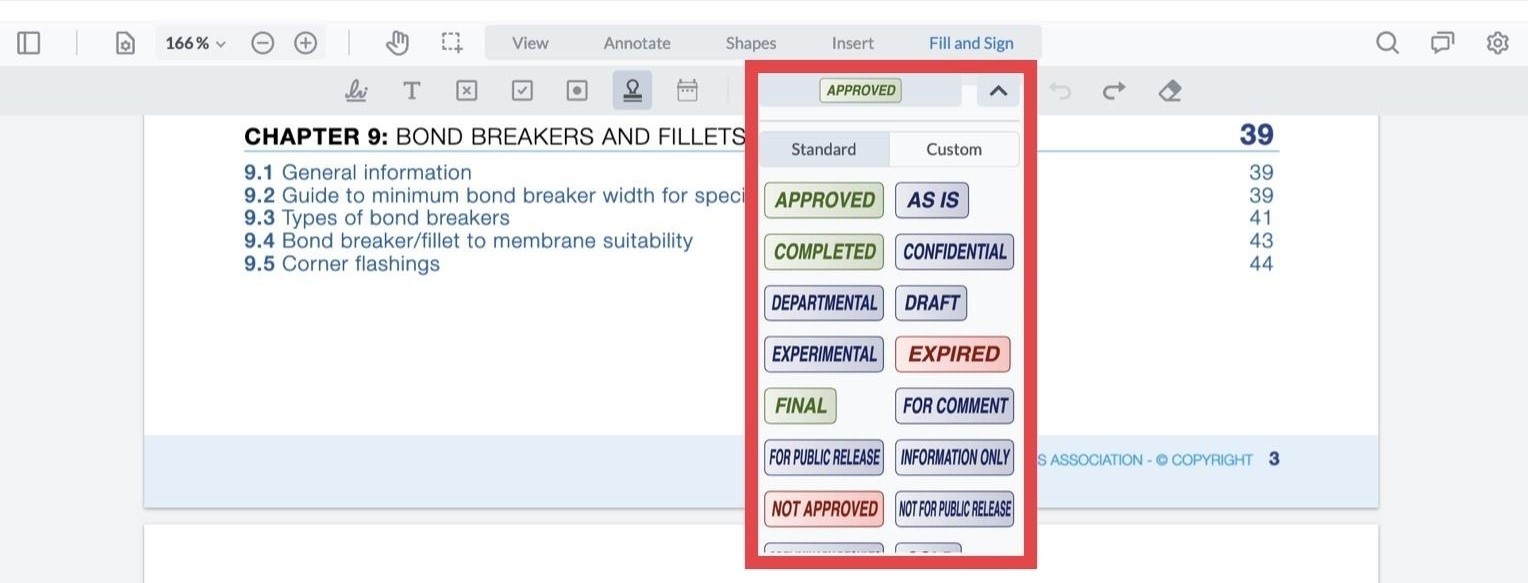
3. Use rubber stamp to insert pre-set images or create your own custom stamp. To insert a rubber stamp select the Rubber Stamp tool, choose standard and select from the list.
Image
Image
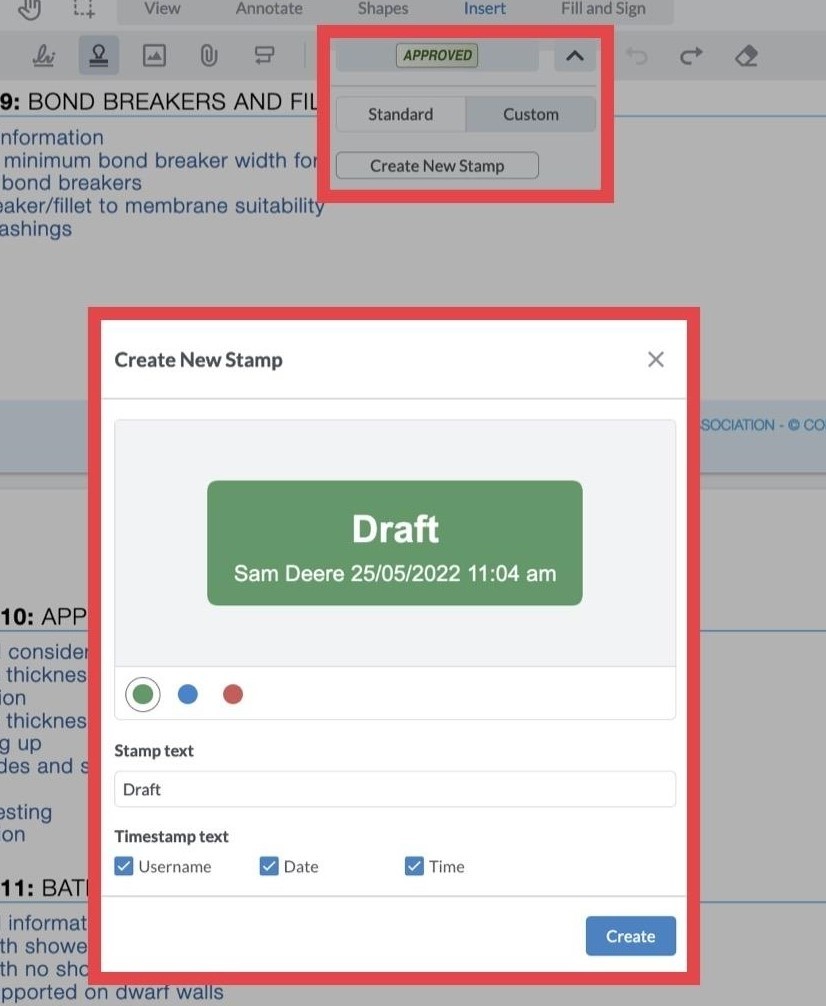
4. To insert a customised rubber stamp, select Custom and Create New Stamp. In the popup window write your text and choose a colour. Customised stamps can be timestamped with username, date, and time.
Image
5. To insert an image select the Image tool. Click on the document and a pop-up window will let you choose an image file from your device.
Image

6. To insert an attachment select the Attachment tool. Click on the document and a pop-up window will let you choose a file from your device.
Image

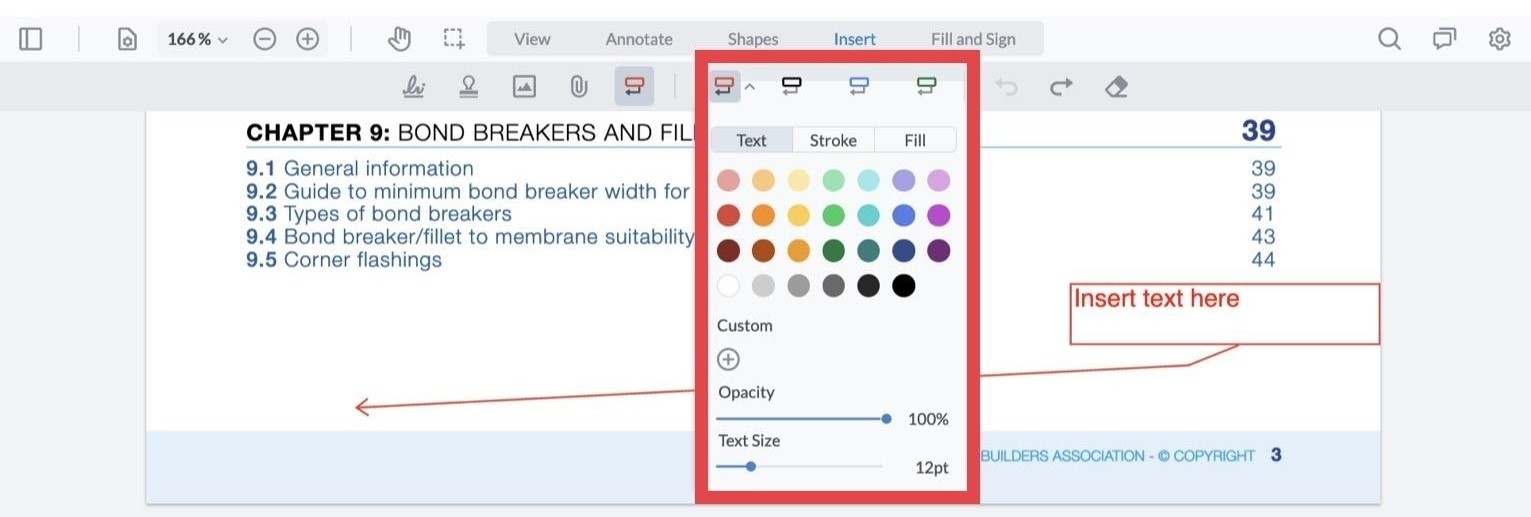
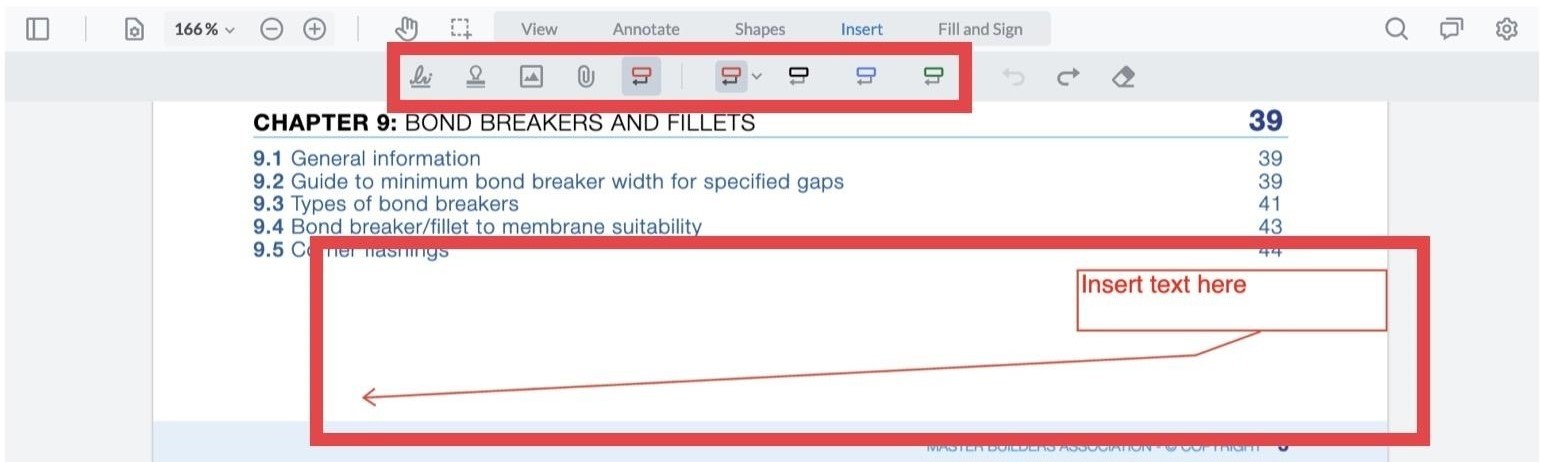
7. To insert a callout select the Callout tool. Click and drag to create an arrow. Click again to create a dialogue box to enter text. Select Custom to create your own colour. Change the settings on stroke to increase the size of the arrow.
Image
8. To add a line to a document select the Line tool and click and drag on the document where you want to add the shape. Select custom to create your own colour.
Image